Philips 10BDL5051T - Manual Setup
The following are manual setup instructions for the Philips 10BDL5051T. In most cases our Automated Setup should be followed instead.
1. Access Main Menu using Hardware Buttons
The panel is set up by default in "Kiosking mode". This means that it is locked to one app. Whenever you need to access the device settings, you need to press two of the hardware buttons simultaneously.
To access the Main Menu at any time, press buttons 1 and 3 together
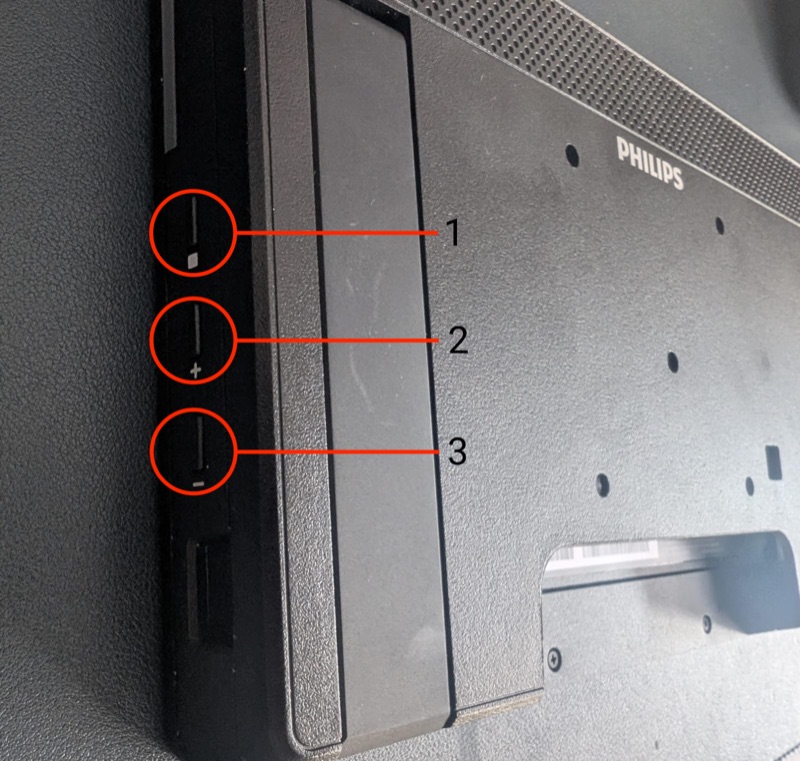
Once you've pressed the two buttons, you need to enter a PIN to unlock the device. The default PIN is 1234.
Note: This guide assumes that you have a new or factory reset device. You can perform a factory reset by going to
Settings > Signage display > System tools > Factory reset.
2. Setup Wizard
- After a factory reset, on the
Welcomescreen, select your language and pressStart.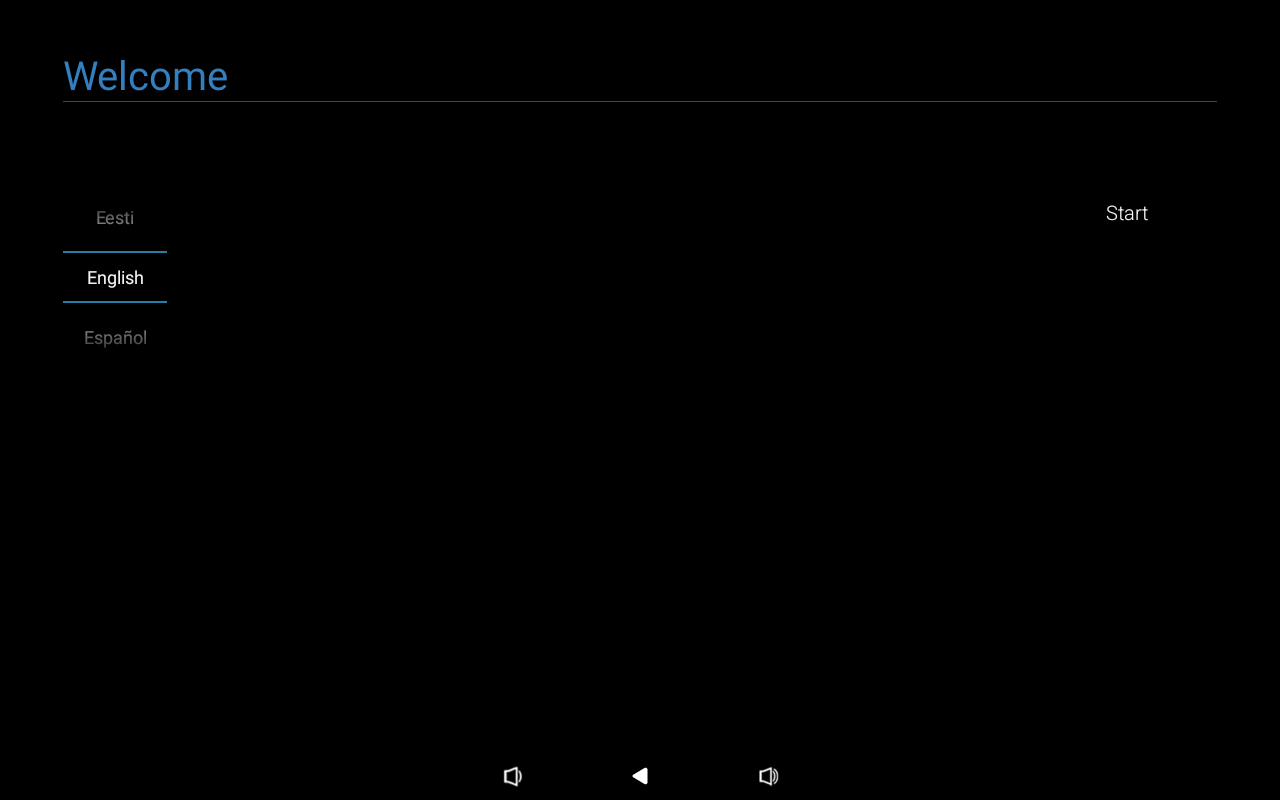
- On the
Date & Timescreen, select your time zone and tapNext.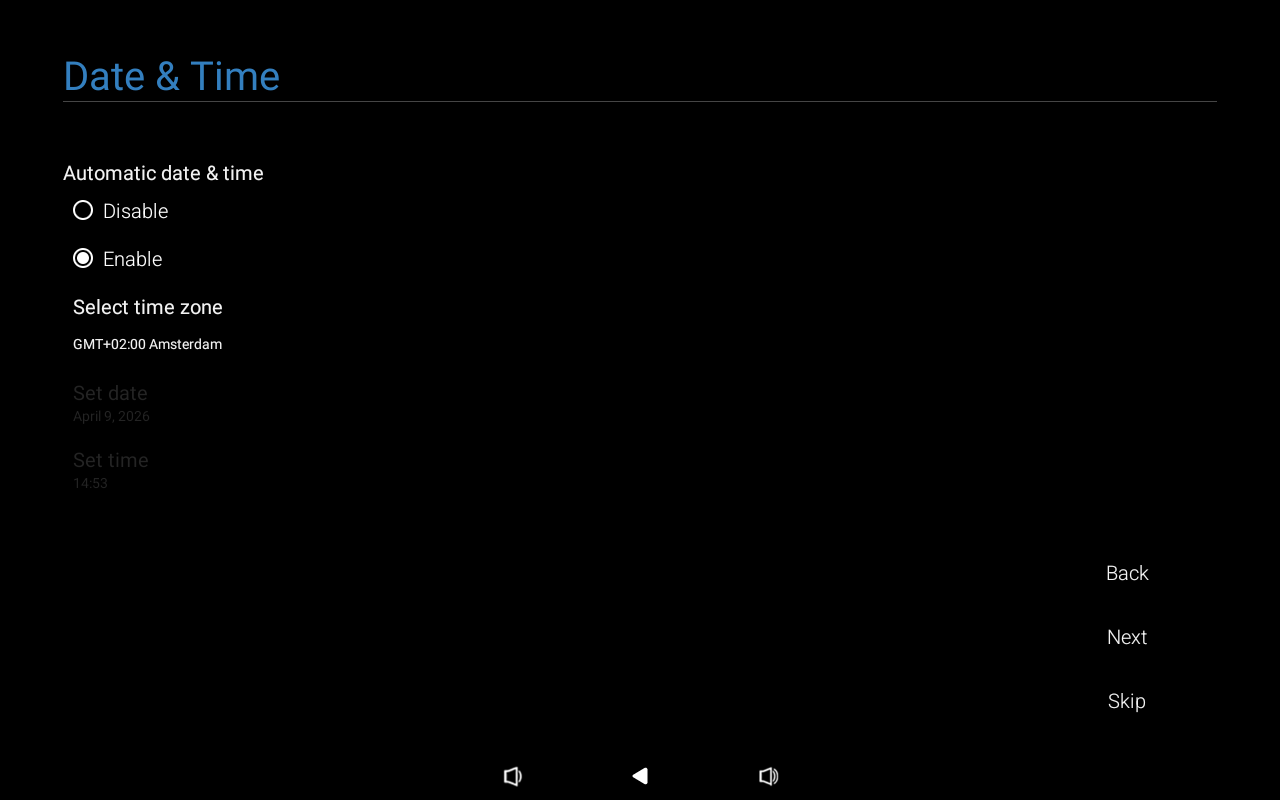
- On the
Clone Media Files into Internalscreen, tapSkip.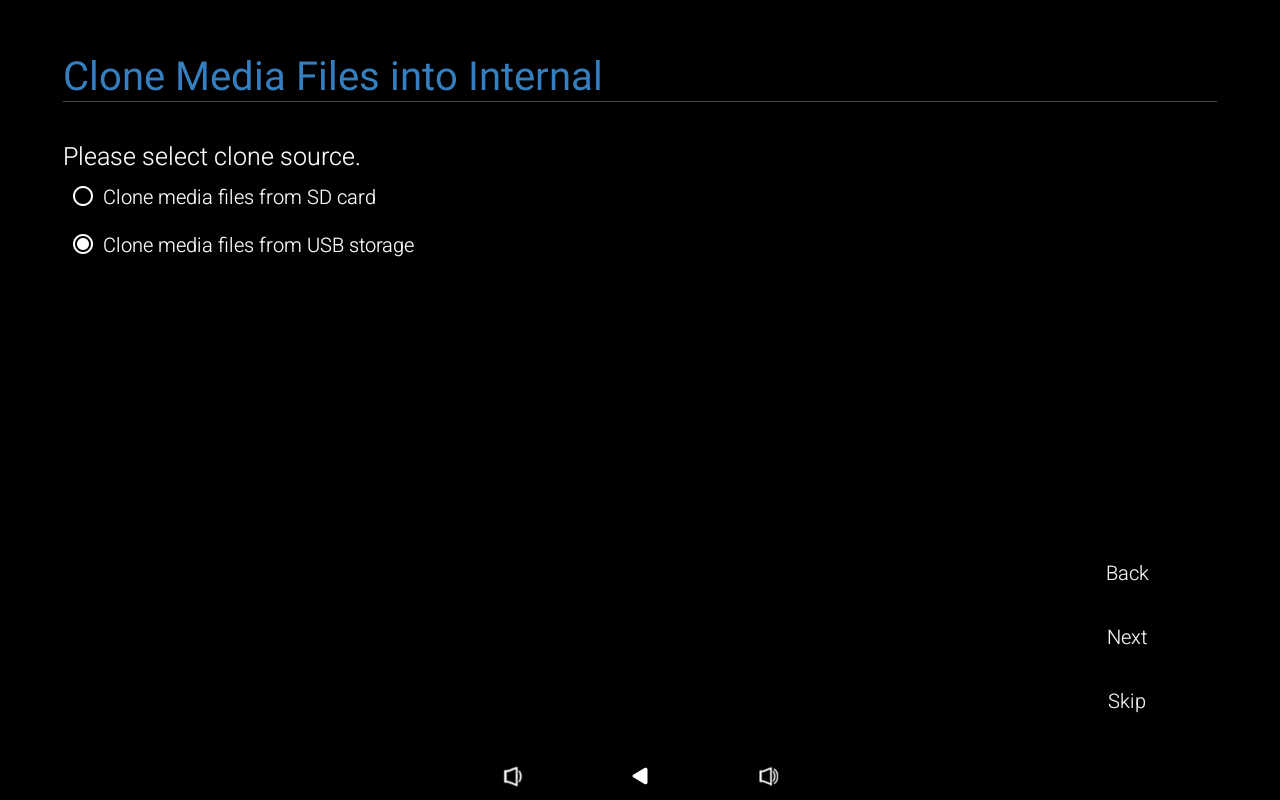
- On the
Signage Display Settingsscreen, tap onManual Setupthen tapNext.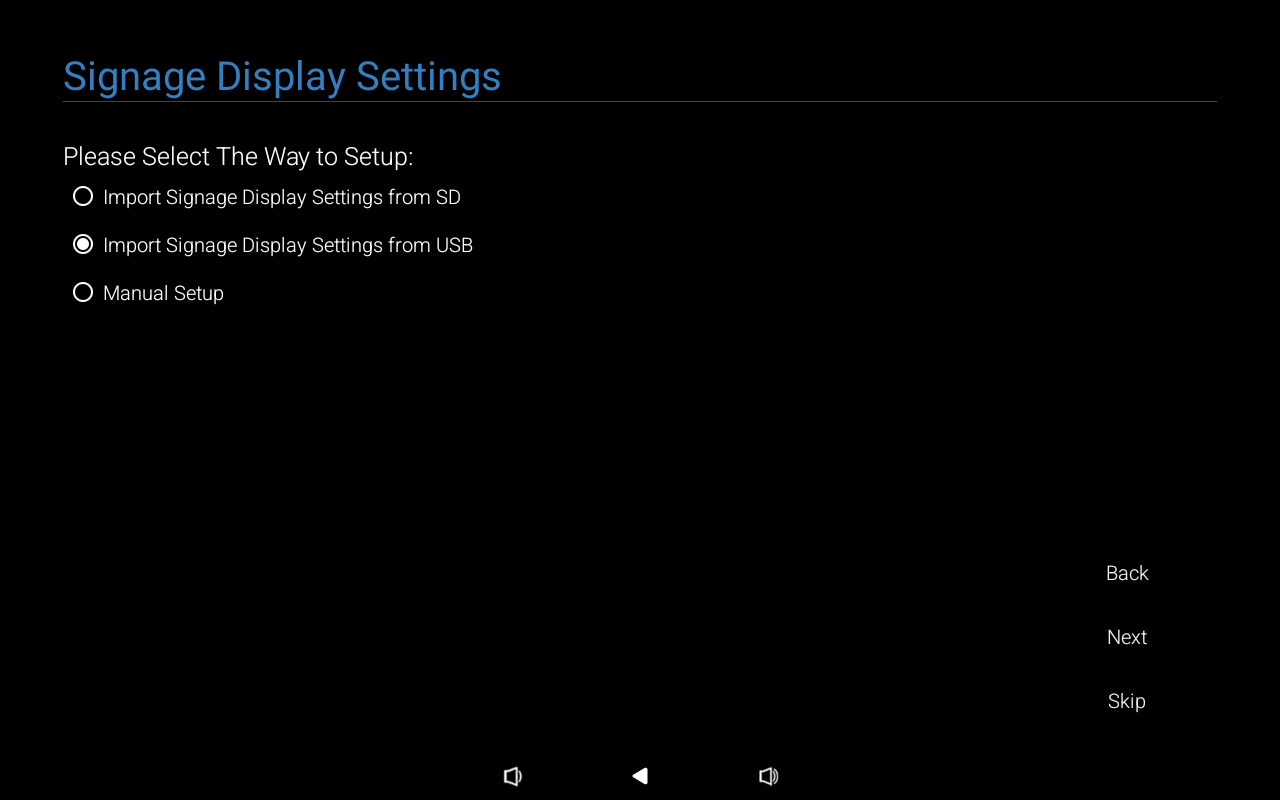
- On the
Remote Controlscreen, tapSkip. This is not required for Fishbowl.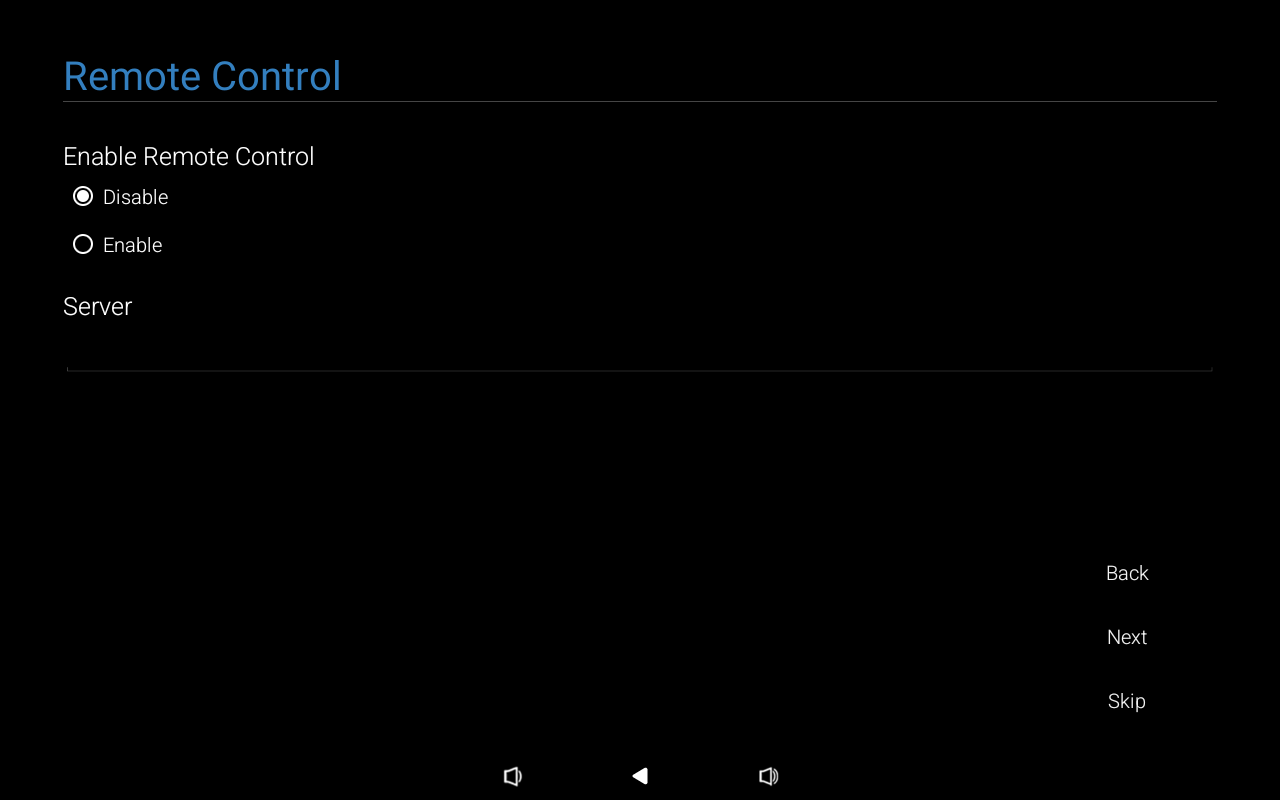
- On the
Security Settingscreen, enable ADB Over Network if you plan to use ADB for deployment or management. SICP Network Port and Unknown Sources Installation must be enabled. The remaining options can be configured as desired. TapNext.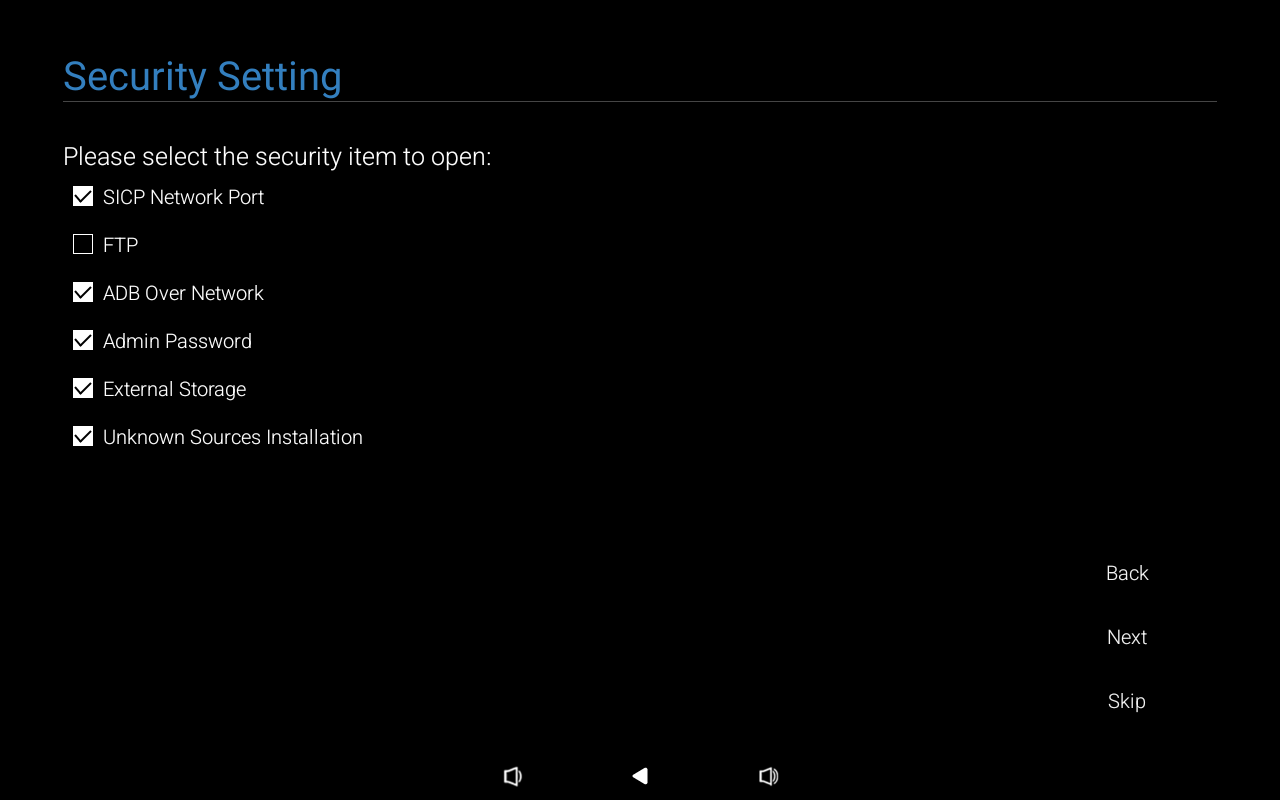
- Enter a
Signage Display Namethen tap onNext. - On the
Network Settingpage select eitherWiFiorEthernet.
- On the
Setup Completescreen, tapFinish.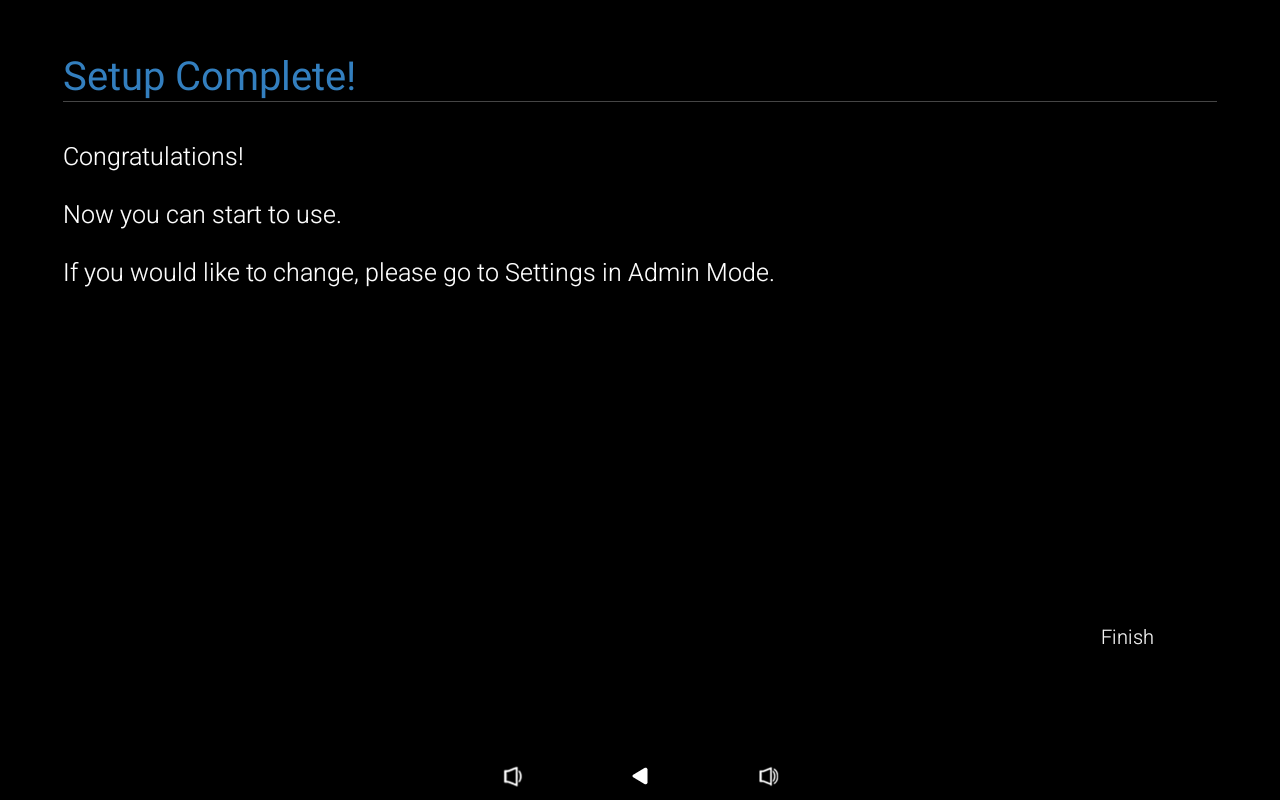
- On the
Welcome to Wavescreen, tapSkip. This is not required for Fishbowl.
- Press the two hardware buttons and enter the PIN (default: 1234) to get back to the main menu.
3. (optional) Replace Kika Keyboard
The device ships with the Kika third-party keyboard as the only input method. Unlike previous Philips models, Kika is now a system app and cannot be removed. The best alternative is to install an open-source replacement and disable Kika via ADB. Follow our Replace Kika Keyboard guide for instructions.
4. Install Fishbowl
The Philips 10BDL5051T does not have the Play Store installed. You can install Fishbowl using one of the following methods:
Option A: ADB (recommended for multiple devices)
Use ADB to install Fishbowl over the network or via USB. See our ADB Deployment Guide for full instructions.
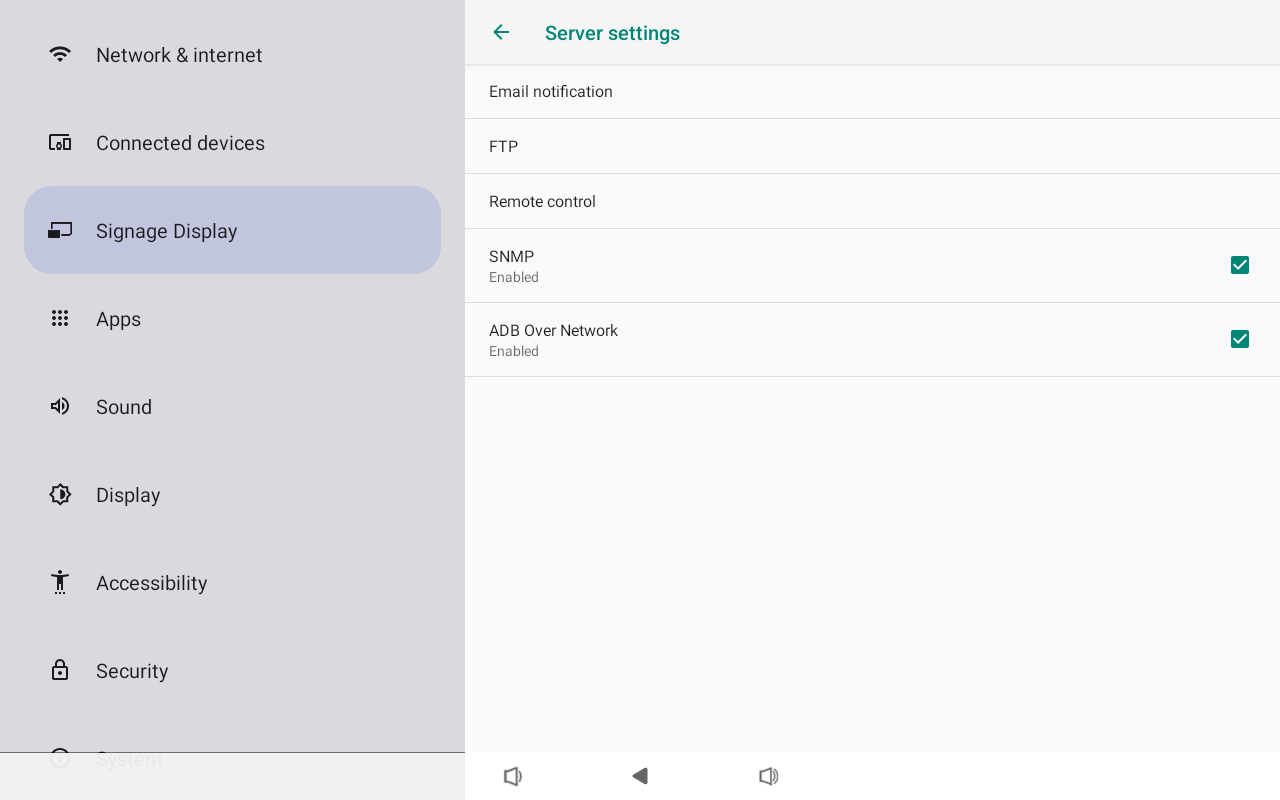
Ensure ADB Over Network is enabled on the Philips. If it was not enabled during the setup wizard, you can enable it from the Main Menu by navigating to Settings > Signage Display > Server settings > ADB Over Network.
Quick install via ADB (see manual deployment for downloading the APK):
adb connect <device-ip>:5555
adb -s <device-ip>:5555 install -r -d fishbowl.apk
adb -s <device-ip>:5555 shell am start -n com.strix.fishbowl/.MainActivity
For USB, skip
adb connectand omit-s <device-ip>:5555if only one device is plugged in.
Option B: Browser download
- On the
Main Menuscreen tap onChromium. - In the address bar, type bit.ly/fishbowlapk.
- When prompted, tap on
Allowto allow Chromium access to storage to download the file. - Tap on
Download, and then tap onKeep. - In the bottom bar, tap on
Open. - When prompted tap on
Settings. - On the
Install unknown appsscreen, toggle it toAllow from this source. Press the "Back" arrow. - When prompted to install Fishbowl, tap on
Installthen tap onOpenonce it has been installed.
5. Set Fishbowl as the default app
- Press the two hardware buttons and enter the PIN to get back to the main menu.
- On the
Main Menuscreen tap onSettings > Signage Display > Source settings > Custom app.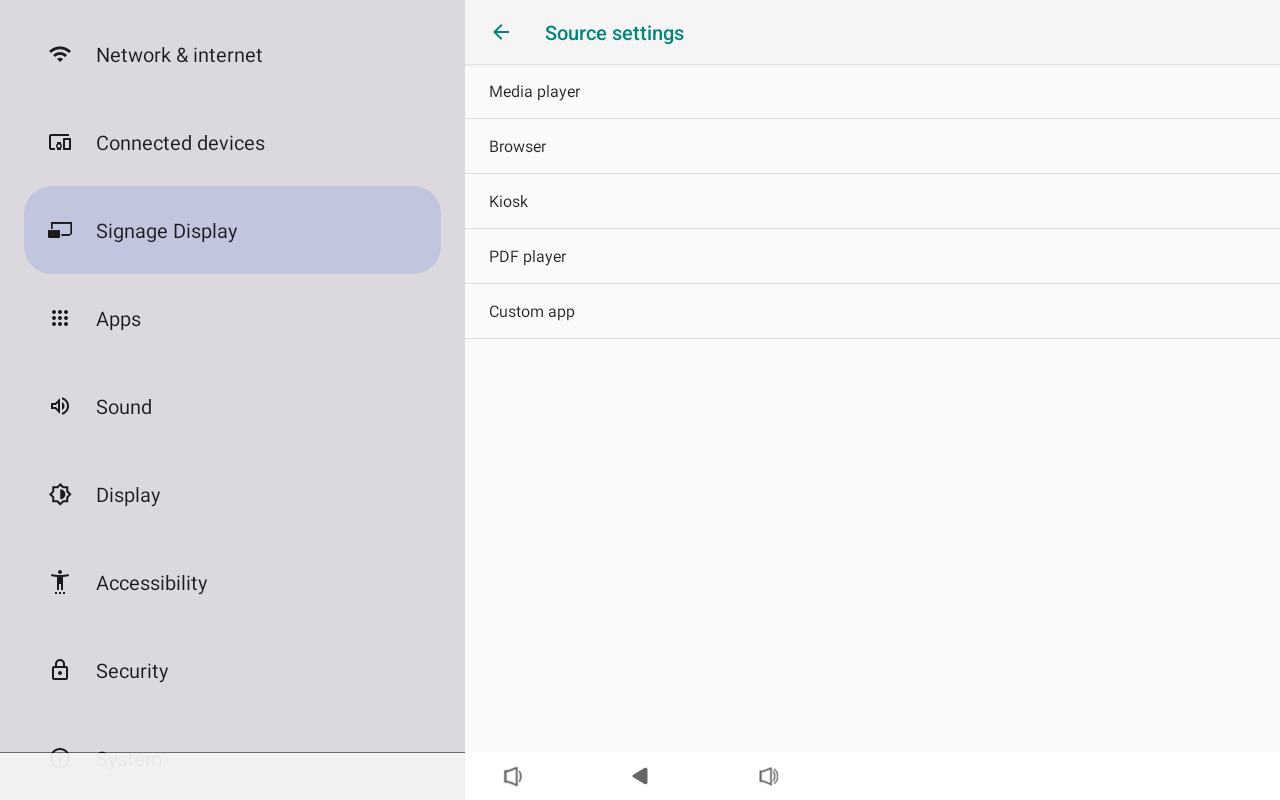
- Tap on
Select app.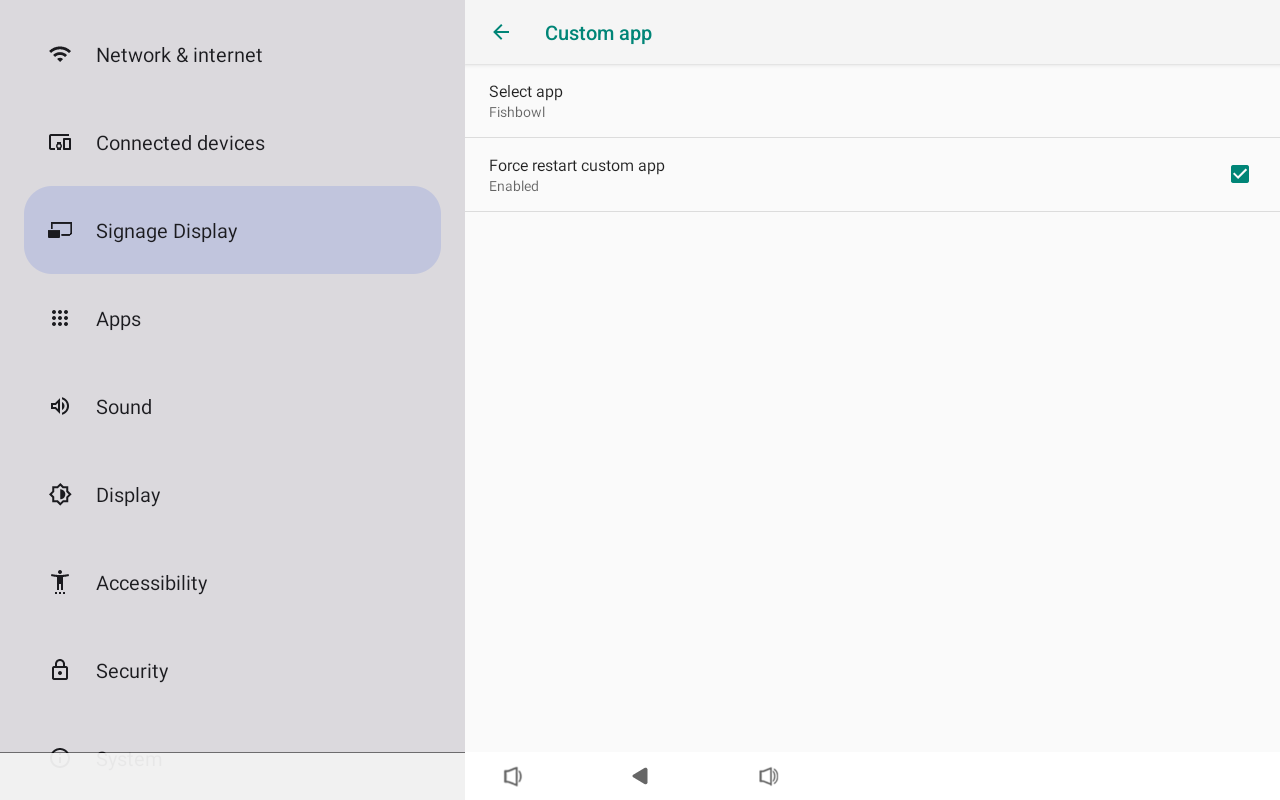
- Tap on
Fishbowlthen tap onSave.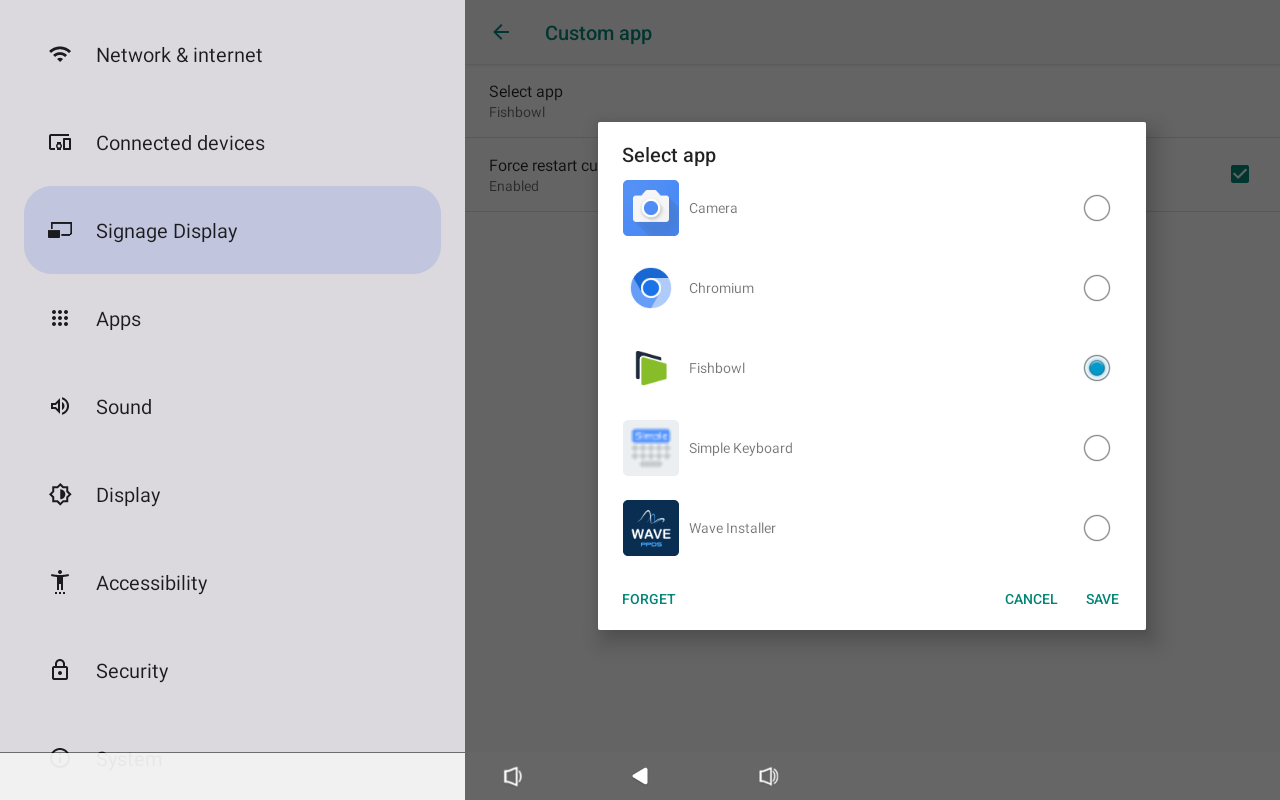
- Enable
Force restart custom app. This will automatically relaunch Fishbowl if the device moves out of the app. - Tap the back arrow top left until you are back at the
Settingsscreen. - Tap on
Signage Display > General settings > Boot on source. - Tap on
Inputand selectCustom app.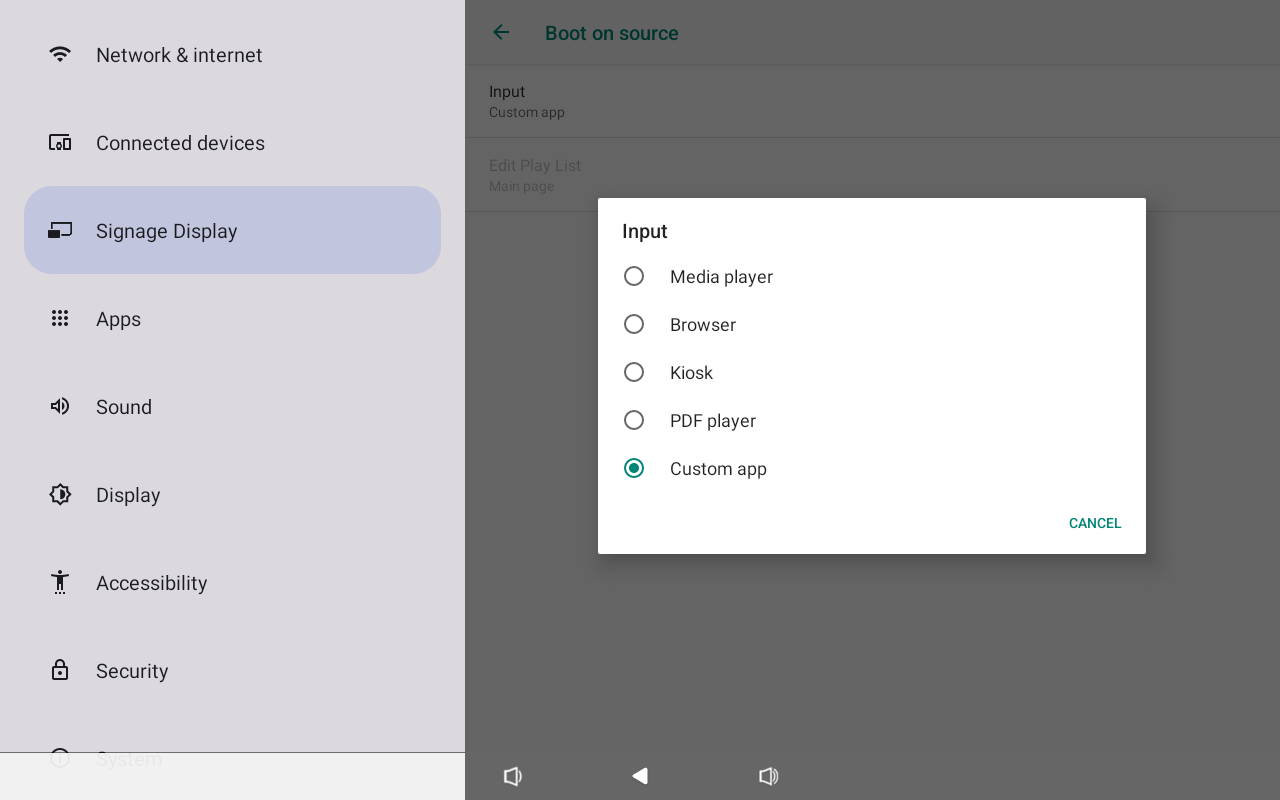
- Tap the back arrow in the top left corner until you are back at the
Settingsscreen.
6. Change time zone and time format
- On the
Settingsscreen tap onSystem > Date & time. - Tap on
Select time zone, and select the correct time zone (in our testing, the automatic time zone was not set correctly). - Enable
Use 24-hour formatif you prefer this. - Tap the back arrow in the top left corner until you are back at the
Settingsscreen.
7. (optional) Change Brightness
- On the
Settingsscreen tap onDisplay. - Tap on
Brightness leveland choose the desired brightness. In most cases this can be set to 100%.
8. (optional) Configure Sleep
Please follow our guide to set up the Philips scheduler if you wish to configure sleep.