Philips 10BDL5051T - Automated setup
1. Download and Import ZIP file
We have created a ZIP export that simplifies the setup of your device. The ZIP includes the Fishbowl app configuration, default settings, and a replacement for the Kika keyboard, so you do not need to perform those steps separately.
If you prefer to manually set up the device, please refer to our Manual Setup instead.
- On a computer, download the Fishbowl 10BDL5051T Signage Display Settings from our Fishbowl Google Drive.
- Format a flash disk or SD card. It needs to be completely empty.
- Extract the downloaded file (
philips.zip). By default it will extract into a folder namedphilips. - Copy the
philipsfolder directly to the empty flash disk or SD card. Thephilipsfolder should be the only item in the root of the storage medium.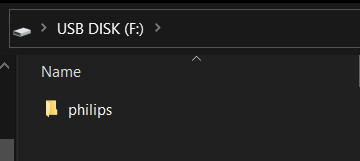
- Eject/safely remove the flash disk or SD card from your computer.
- Insert the flash disk or SD card into a Philips 10BDL5051T that has been reset to factory settings.
- After a factory reset, on the
Welcomescreen, select your language and pressStart.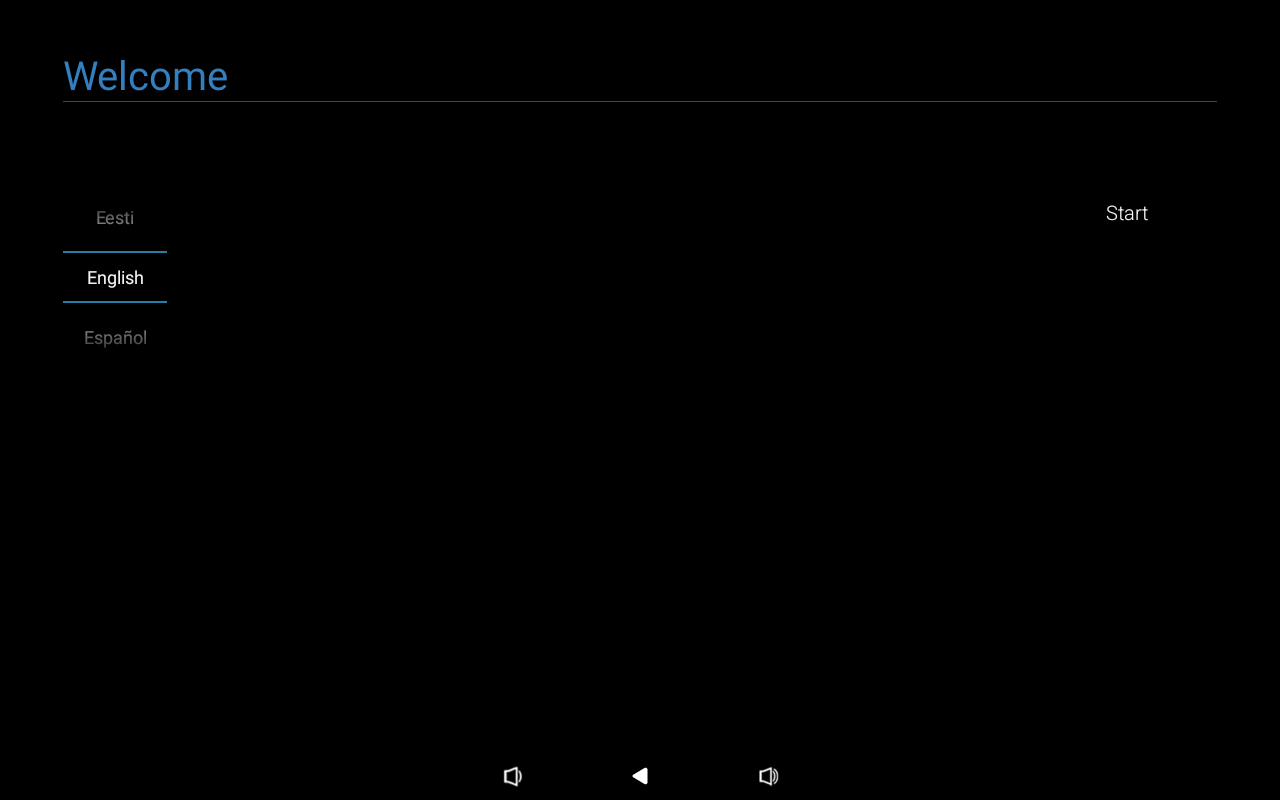
- On the
Date & Timescreen, select your time zone and tapNext.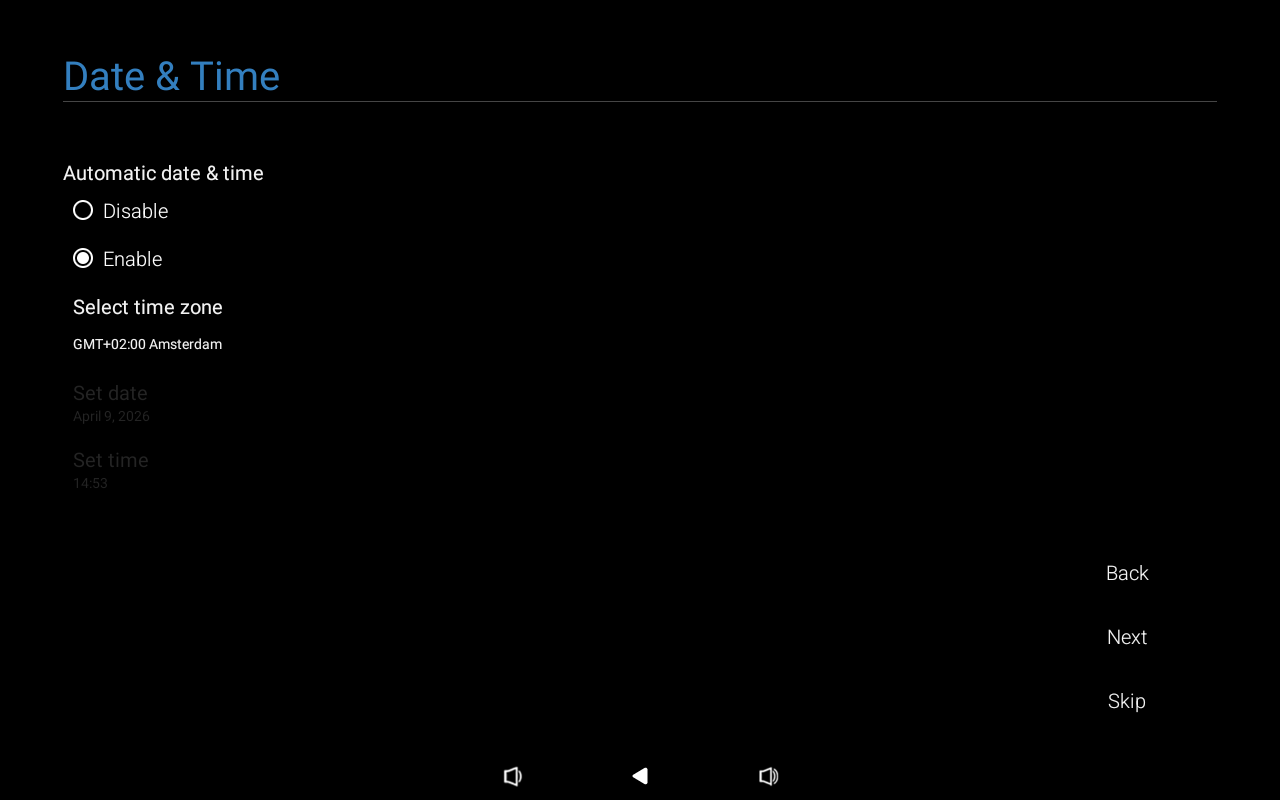
- On the
Clone Media Files into Internalscreen, tapSkip.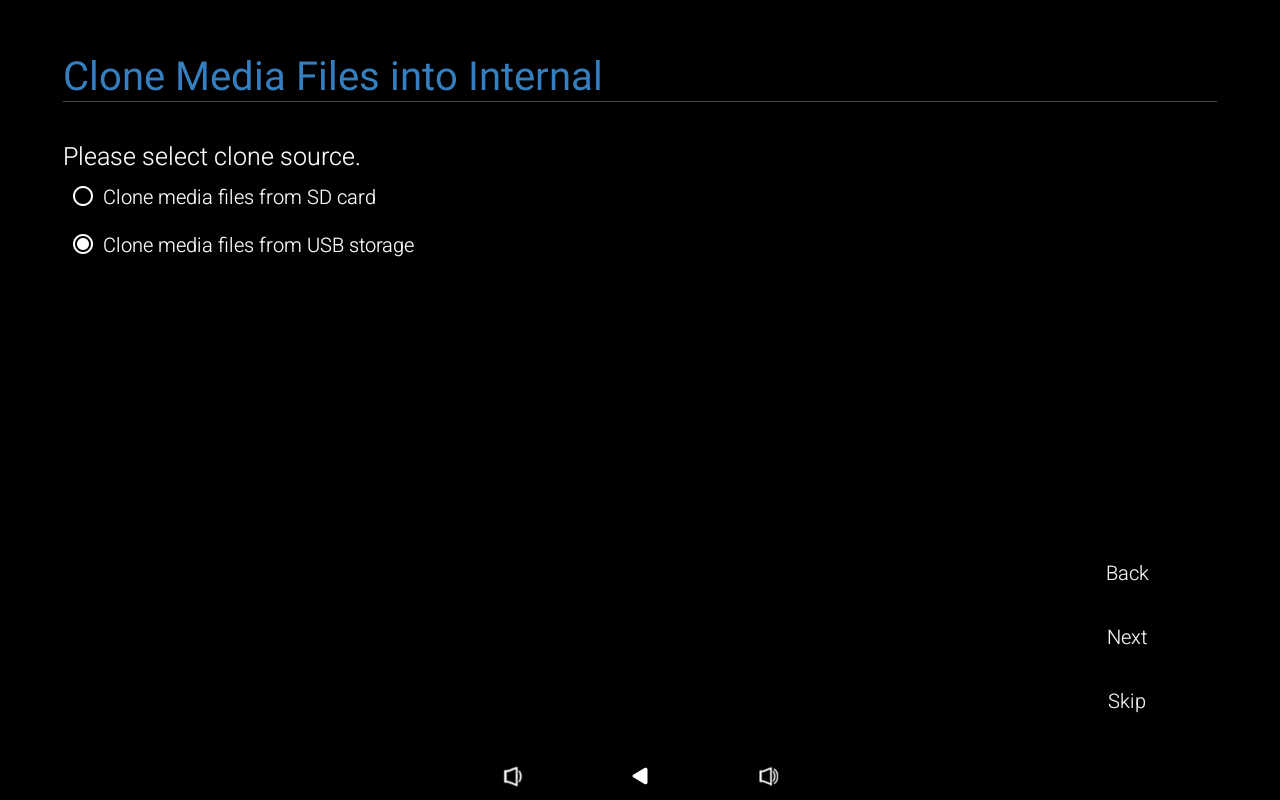
- On the
Signage Display Settingsscreen, tap onImport Signage Display Settingsfrom either USB or SD, depending on the storage medium you are using.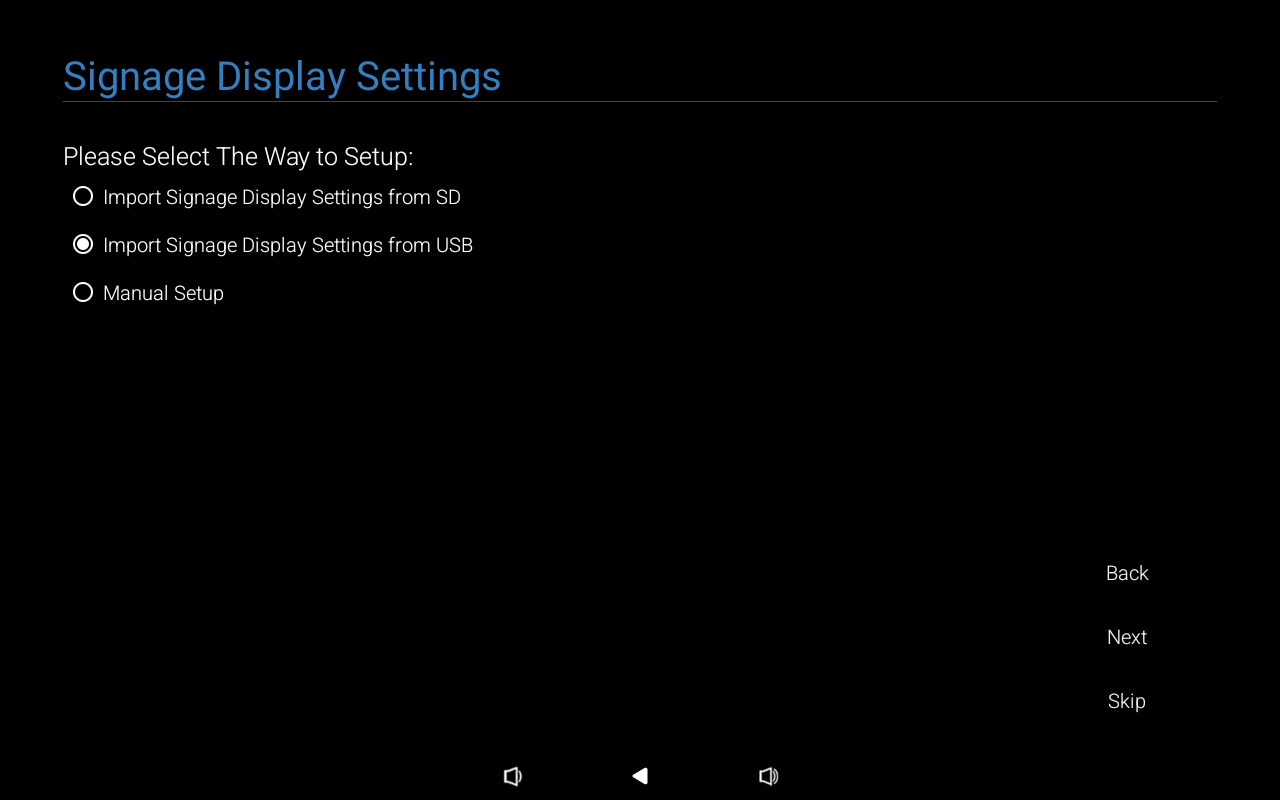
- On the
Setup Completescreen, tap onFinishand wait for the import to complete. This could take several minutes. The tablet will restart after this has completed.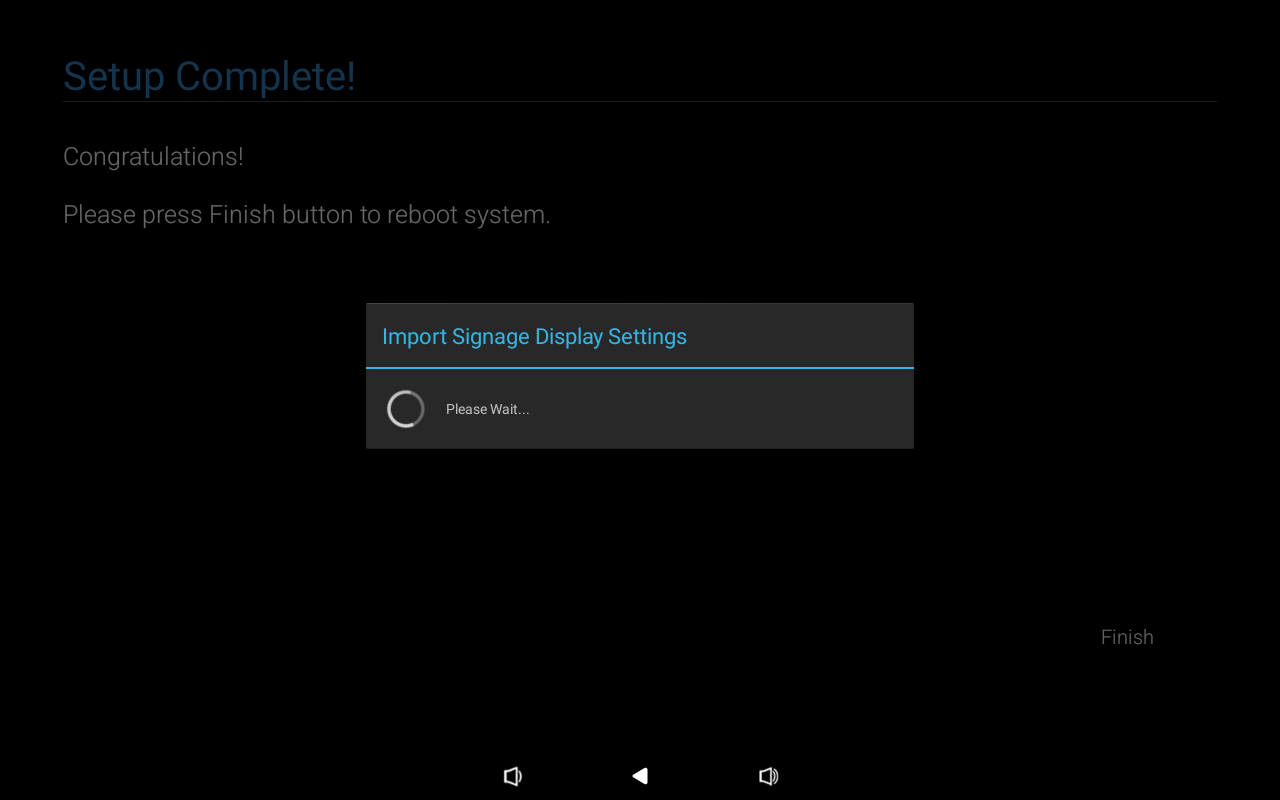
- After the tablet has imported the settings and restarted, Fishbowl will start automatically. However, you first need to connect to the internet.
2. Connect to the Internet
- Exit Fishbowl by pressing the hardware buttons that Exit Kiosk Mode. The default PIN is 1234.
- On the
Main Menu, tap onNetwork. - Depending on your setup, either tap on
Wi-FiorEthernetand configure the connection accordingly. - Tap the back arrow until you are back on the
Main Menu.
3. Change time zone and time format
- On the
Main Menuscreen tap onSettings. - Tap on
System > Date & time. - Tap on
Select time zone, and select the correct time zone (in our testing, the automatic time zone was not set correctly). - Enable
Use 24-hour formatif you prefer this. - Tap the back arrows until you are back at the
Main Menuscreen.
4. Configure Fishbowl
- On the
Main Menuscreen tap onApps. - Tap on
Fishbowl. - Complete the Fishbowl setup wizard.
- To access the Fishbowl settings at any time, tap on the logo on the calendar screen.
- To lock the Fishbowl settings with a PIN, log in at fishbowlmeetings.com, click on
Devicesand edit your device.
5. (optional) Configure Sleep
Please follow our guide to set up the Philips scheduler if you wish to configure sleep.
6. (optional) Deploy via ADB
If you have multiple devices to set up, you can use ADB over WiFi to install and update Fishbowl remotely. See our ADB Deployment Guide for instructions.
How to Exit Kiosk Mode using Hardware Buttons
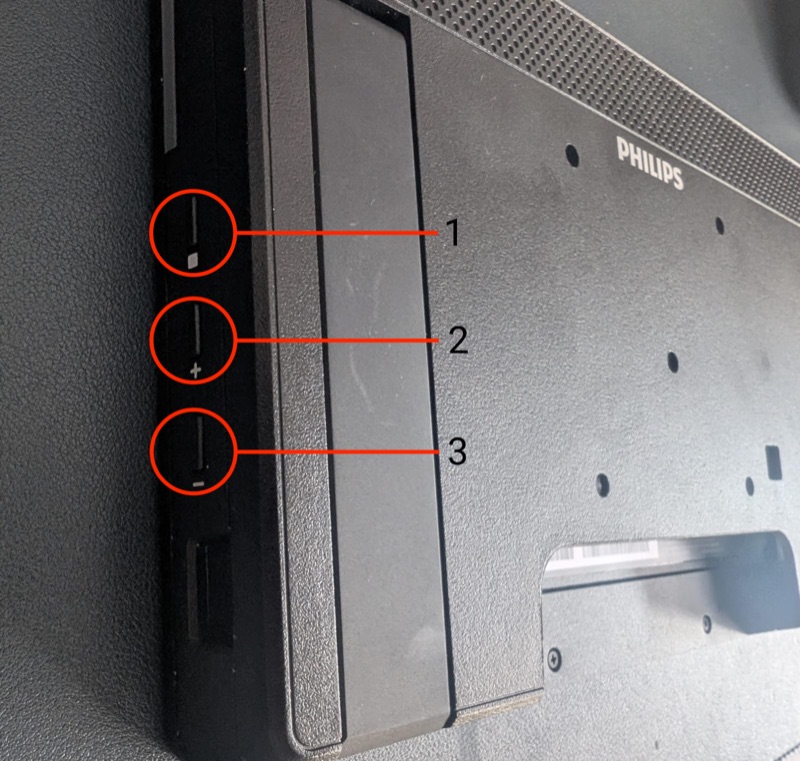
The panel is set up by default in "Kiosking mode". This means that it is locked to one app. Whenever you need to access the device settings, you need to press two of the hardware buttons simultaneously.
To access the Main Menu at any time, press buttons 1 and 3 together
 Once you've pressed the two buttons, you need to enter a PIN to unlock the device.
The default PIN is
Once you've pressed the two buttons, you need to enter a PIN to unlock the device.
The default PIN is 1234