Philips 10BDL4551T - Manual Setup
The following are manual setup instructions for the Philips 10BDL4551T. In most cases our Automated Setup should be followed instead.
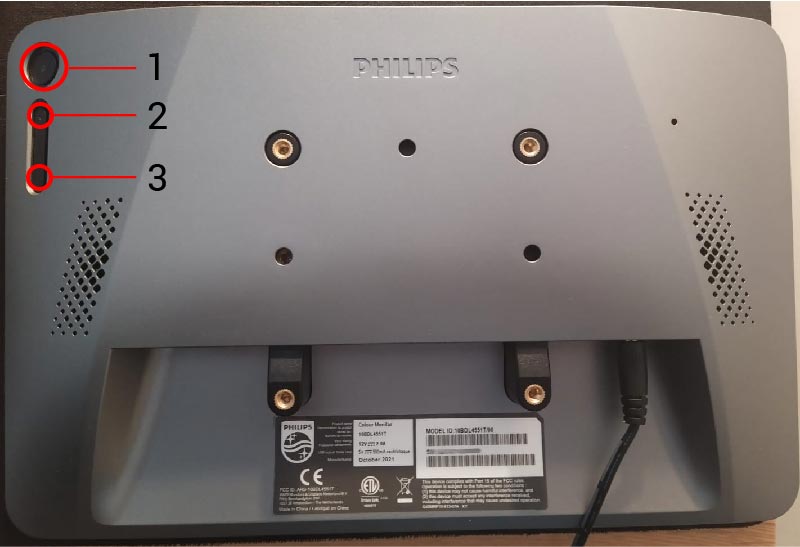
1. Access Main Menu using Hardware Buttons
The panel is set up by default in "Kiosking mode". This means that it is locked to one app. Whenever you need to access the device settings, you need to press two of the hardware buttons simultaneously.
To access the Main Menu at any time, press buttons 1 and 3 together
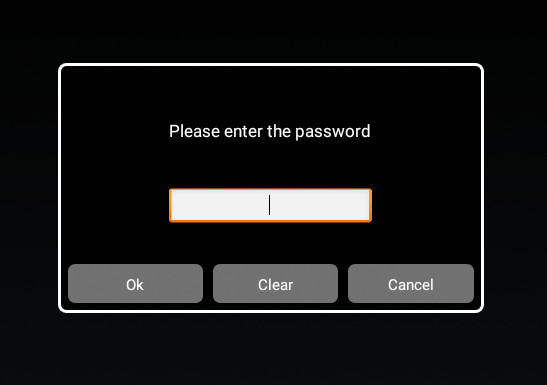
Once you've pressed the two buttons, you need to enter a PIN to unlock the device.
The default PIN is 1234.
Note: This guide assumes that you have a new or factory reset device. You can perform a factory reset by going to
Settings > Signage display > System tools > Factory reset.
2. Setup Wizard
- After a factory reset, on the
Welcomescreen, select your language and pressStart. - On the
Security Settingscreen, only enableSICP Network Port.
- The SICP port is used to change the color of the LEDs on the side and to enter deep sleep.
- On the
Signage Display Settingsscreen, tap onManual Setup. - Enter a
Signage Display Namethen tap onNext. - On the
Network Settingpage select eitherWiFiorEthernet. - On the
Clone Media Files into InternaltapSkipand then tapFinish. - The Philips
CMND & Deployapp will start. The use of this app is not required. Press the<(back button) at the bottom of the screen. The screen will be black, since no default app has been configured yet. - Press the two hardware buttons and enter the PIN (default: 1234) to get back to the main menu.
3. Change Default Keyboard
The device uses the Kika 3rd party keyboard by default. While there is no evidence of the keyboard being compromised, we feel that there is no reason to risk using a 3rd party keyboard, especially when entering login credentials.
- On the
Main Menuscreen tap onSettings > System > Languages & input > Virtual keyboard. - Tap on
+ Manage keyboards.
- Enable
Android Keyboard (AOSP). - Disable
Kika Keyboard.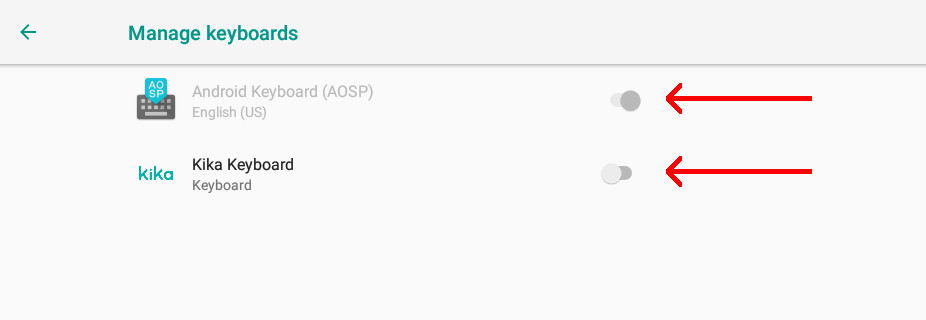
4. (optional) Install a newer version of Chromium
The version of Chromium on the factory version of the tablet is slightly older. A bug exists on this version of Chromium that causes a crash the first time you tap on an input field. To prevent this, you can install a newer version from the Google repository: Chromium APK (build 1218157). Please note that versions of Chromium released after the version above (build 1218157) do not seem to be compatible with the Android 8.1.0 that is installed on the tablet.
- Click on the
chrome-android.zipfile to download it on a computer. - Unzip the downloaded file and copy
ChromePublic.apkto a flash disk or SD card.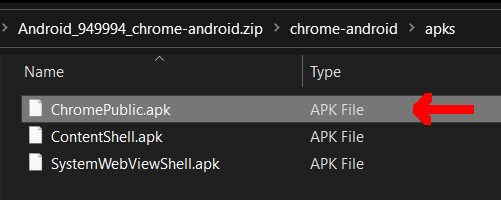
- Insert the flash disk or SD card into the tablet.
- Press the two hardware buttons and enter the PIN to get back to the main menu.
- Tap on
Storage. - Browse to the location of
ChromePublic.apk, tap on it to open it, and follow the prompts to complete the installation. You will receive a warning about Google Services; however, this can be safely ignored.
5. Install Fishbowl
The Philips 10BDL4551T does not have the Play Store installed. Instead, you can download the Fishbowl from our repository, and install the APK.
- On the
Main Menuscreen tap onChromium. - In the address bar, type bit.ly/fishbowlphilips.
- When prompted, tap on
Allowto allow Chromium access to storage to download the file. - Tap on
Download, and then tap onKeep.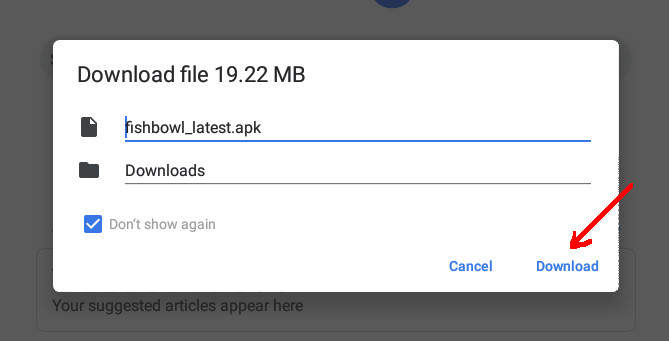
- In the bottom bar, tap on
Open.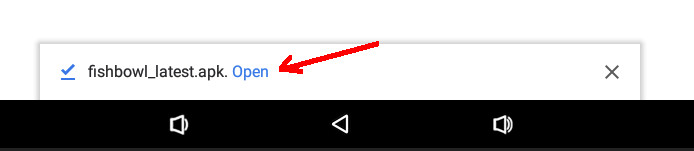
- When prompted tap on
Settings.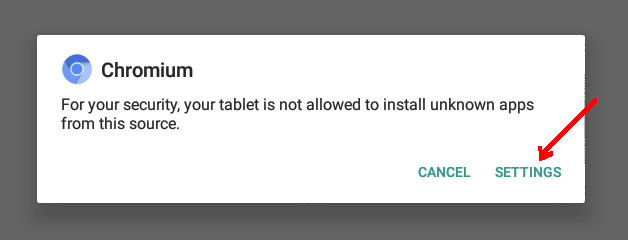
- On the
Install unknown appsscreen, toggle it toAllow from this source. Press the "Back" arrow.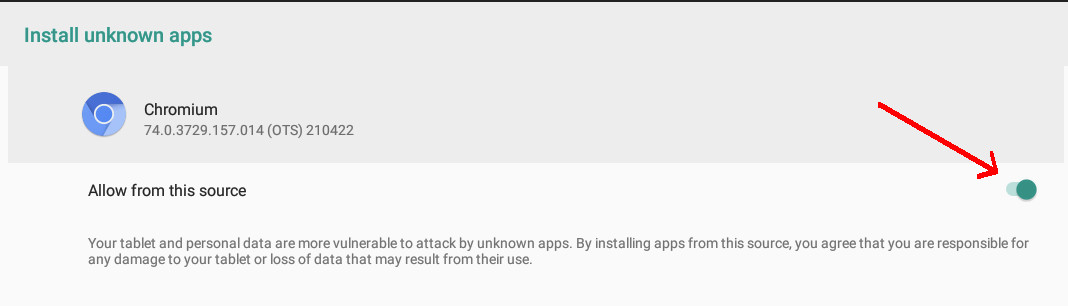
- When prompted to install Fishbowl, tap on
Installthen tap onOpenonce it has been installed.
6. Set Fishbowl as the default app
- Press the two hardware buttons and enter the PIN to get back to the main menu.
- On the
Main Menuscreen tap onSettings > Signage Display > Source settings > Custom app. - Tap on
Select app.
- Tap on
Fishbowlthen tap onSave.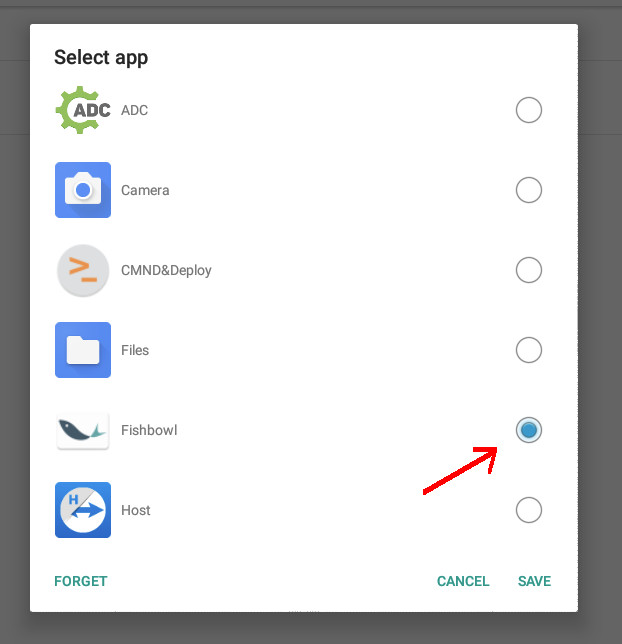
- Tap the back arrow top left until you are back at the
Settingsscreen. - Tap on
Signage Display > General settings > Boot on source. - Tap on
Inputand selectCustom app.
- Tap the back arrow in the top left corner until you are back at the
Settingsscreen.
7. Change time zone and time format
- On the
Settingsscreen tap onSystem. - Tap on
Date & time. - Tap on
Select time zone, and select the correct time zone (in our testing, the automatic time zone was not set correctly). - Enable
Use 24-hour formatif you prefer this. - Tap the back arrow in the top left corner until you are back at the
Settingsscreen.
8. (optional) Change Brightness
- On the
Settingsscreen tap onDisplay. - Tap on
Brightness leveland choose the desired brightness. In most cases this can be set to 100%.
9. (optional) Configure Sleep
Please follow our guide to set up the Philips scheduler if you wish to configure sleep.